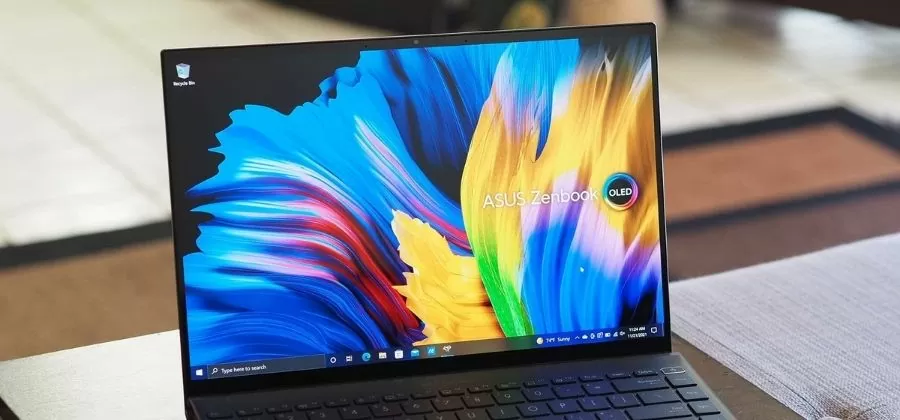
Asus is a well-known company when it comes to electronics. They make laptops, tablets, and other devices. One of their most popular lines is the Zenbooks which are sleek ultraportable laptops that are great for everyday use. Many people love these devices because they come with an easy way to take screenshots using one button on the keyboard. I will teach you how to screenshot on Asus Zenbook!
There are many different methods to capture a screenshot of your screen on a Zenbook. We’ll show each of those methods below with detailed instructions on how to do them so you can decide for yourself! How To Flatten A Mousepad?
So, how to screenshot on Asus Zenbook?
There are a few ways to screenshot on an ASUS Zenbook. So, I’m going to show you all the methods so you can learn and then try to find one that’s best for you.

Method 1: Print Screen Button:
The first way is to use the print screen button. This method is the easiest way to take a screenshot, and it doesn’t require any additional software. To do this, press the print screen button on your keyboard, and the screenshot will be saved. You can then paste it into a document or email. How To Fix A CPU Cooler Not Lighting Up? [New Guide 2023]
Method 2: Snipping Tool:
The second way is to use the snipping tool. And this tool lets you take screenshots of whatever you want to take. Open the snipping tool by pressing Windows + “snipping tool“. Select the snipping tool from the results and click on it.
Once the snipping tool is open, you can choose to screenshot the entire screen, a specific window, or a selected area. To screenshot the screen, click on the arrow next to “New” and select “Full screen“. Select “Window” from the arrow menu to screenshot a specific window. You can also screenshot a selected area by holding down the left mouse button while dragging around the area.
You’ll see a preview of your screenshot in the snipping tool once you release your mouse button after selecting the area. After you have saved it as a file, you can copy it to the clipboard.
Method 3: Third-Party Software:
In the third case, third-party software can be used. Some popular programs include Jing, Skitch, and Lightshot.
To use a third-party software program, download and install it on your computer. Then open the program and follow the instructions to take a screenshot. Most programs will let you save your screenshots as files or copy them to the clipboard.
So those are three ways to screenshot on an ASUS Zenbook. We recommend trying all three methods so you can find the one that’s best for you.
Asus laptop print screen not working, What to do?
Other few things you can do to try and fix the issue.
First, restart your computer. This often fixes small issues.
Next, check your computer’s settings. Make sure you have enabled the print screen feature. To do this, follow these steps:
- Open the Start menu and type “Ease of Access.” Click on the “Ease of Access Center” option.
- Click on “Make the keyboard easier to use.“
- Scroll down to the “Change how pressed keys work” section and check the “Print Screen” key. Click on “OK.“
If the key is already checked, try pressing it again. Sometimes it can get unchecked if your computer is restarted. If this doesn’t work, you may need to check the manufacturer’s website for updated drivers. If they aren’t up to date on your system, it could cause issues like these. How To Test A Power Supply? [Step By Step Guide]
Last but not least, a keyboard shortcut may be used to capture your entire screen. This is often faster than using the print screen key on the keyboard since all you have to do is open an image editing program and press the “PrtScn” button, which most programs have by default under “Edit.” This will copy an image of what has been displayed on the screen at that moment in time into the clipboard so that you can paste it into any other file or program that you choose.
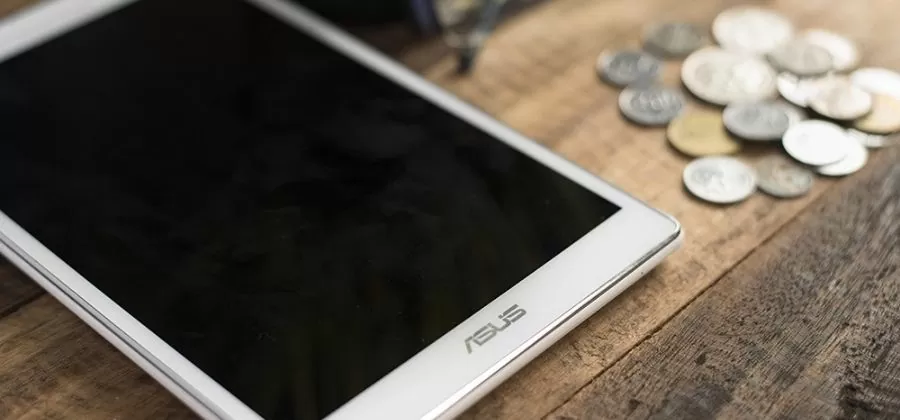
How to screenshot on an Asus tablet?

- The first step in taking a screenshot is to press both the power and volume buttons simultaneously.
- Another option that should work across most tablets, but not all, is holding down the power button and the home key simultaneously to take a screenshot. Again, you might have to play around with it depending on your specific tablet’s configuration.
- If these two options don’t work for you, there are always third-party apps in Google Play that can let you capture screenshots on an Android tablet or another device quickly and easily. There are plenty of free screenshot apps available and paid versions that have more features if you need them.
- Finally, if you’re using a tablet with latest android OS then there’s actually a built-in screenshot feature that sends files off to the /Pictures/Screenshots folder on your device or SD card. However different android tablets could have different built-in features and settings, so you would have to find out.
How to screenshot on Asus laptop Chromebook
Sometimes you need to take a screenshot of an Asus Laptop Chromebook. And here are some simple steps to take a screenshot on your Chromebook.
1) First, open the page or image you wish to capture in full-screen mode by clicking its Full-Screen icon (triple-dot icon) located in the top right corner of the browser window.
2) Now press “CTRL” and “Window Switcher key” simultaneously. A camera icon will appear at the bottom right of your browser window, which indicates that your screen is now being captured. Also, a notification appears that says “Take a Picture of this Screen”. Using this method, you can also capture a certain region or specific part of the screen rather than capturing the entire page/ browser window.
To capture the screenshot of a specific region, click and hold “CTRL” and then click and drag to select an area of the screen. Once selected, release the mouse button to take a screenshot.
3) The captured image will be automatically saved in your Chromebook’s local storage under the Screenshots folder. You can view the screenshot by clicking on “Show in desktop mode,” or you can upload it directly to Google Drive by clicking on the Drive icon located at the right bottom corner of your browser window.
4) Alternatively, you can also download the saved image by clicking Download > Open File… > Save Page as… . This will let you save and use that file as per your requirement.
5) To take a screenshot of an open tab, you can press “Shift” and switch the focus to browser tabs (by clicking on it/them). Now press CTRL + Window Switcher. A camera icon will appear at the bottom right, which indicates that your screen is being captured. Also, a notification appears that says “Take a Picture of this Screen“.
6) To activate the webcam function in Chromebook, go to the Google homepage and click on the gear icon located at the upper right corner of the page. Then select the configure webcams option from the dropdown menu that chooses the camera icon. It will open the webcam settings page where you can select your webcam device (i.e., the notebook’s integrated webcam or an external USB device).
7) Another method to take a screenshot on an Asus Chromebook is selecting the screen area by dragging your mouse pointer to capture a specific region and pressing the “Print Screen” button located at the top of your keyboard above the F12 key. This method captures the entire Chrome OS desktop, including the browser window, all active windows, apps, and system tray icons. Use this option to capture the Chrome OS desktop in its actual size.
8) To get the exact pixel-level screenshots, use the developer mode available on your Chromebook. Press “Enter” after holding the ESC+Refresh+Power keys together. Once you are in Developer Mode, you will see a warning message. Just ignore it and continue by clicking on the “Continue” button. Then select “Enable Developer mode” from the ensuing menu.
9) Now, open the terminal window by pressing the CTRL+ALT+T keys simultaneously. In the terminal window, type shell and hit enter. Now type sudo crosh> and hit enter again. This will open Chrome OS command-line interface.
10) Type screenshot –full-page and hit enter to take a full-page screenshot of the active window or use screenshot –region <x> <y> to capture a specific region on your screen as shown in the following image.
11) As soon as you hit enter, the screenshot will be automatically saved in your Downloads folder. In order to view the screenshot immediately, type screenshot –view and hit enter. This will open the screenshot in a new tab.
12) You can also upload the screenshot directly to Google Drive by typing screenshot –upload and hitting enter. This will open a new window where you need to provide your Google account credentials (username and password) to log in. After successful login, the screenshot will be uploaded to your Google Drive account.
13) To take a webcam screenshot on Asus Chromebook, type sudo screencast –start-webcam and hit enter. This will start capturing webcam video and audio, which will be saved in the Videos folder inside your Downloads folder.
14) You can stop the webcam by typing sudo screencast –stop-webcam and hitting enter. It will save your current video frame in a file named “WebcamShot” inside the Videos folder of the Downloads directory. The file format is WebM which you can play fine with the Chrome browser or any third-party web player that supports this format.
15) If you want to take a screenshot of the individual tab, switch to that tab first before pressing the CTRL+Window Switcher keys mentioned above. Similarly, if you want to capture the entire Chrome OS desktop, ENTER into developer mode using the steps explained above and use the crosh> screencast to take screenshots of the individual window or entire desktop, respectively.
16) To view all screenshots taken using the screenshot command on an Asus Chromebook, open Chrome browser and type chrome://image-downloads/ in the address bar. This will open an image download directory containing all your captured screenshots.
17) There are some other third-party extensions available for the Google Chrome browser that lets you take screenshots easily. One of the popular extensions is “Screen Capture by Google.” This extension provides many options to capture screenshots such as full-page, selected area, active window, etc. You can also capture webcam videos and audio using this extension.
18) After installing the “Screen Capture by Google” extension, just click on its icon present in the Chrome toolbar and select the type of screenshot you want to take. It will automatically save captured screenshots in your Downloads folder. You can also upload it directly to Google Drive or any other online storage service provider.
Frequently Asked Questions
How to screenshot an Asus Vivobook?
Taking a screenshot on an Asus Book is very easy. By pressing the “Print Screen” button on your keyboard, you’ll save the image to your clipboard.
Conclusion:
This article provides you with detailed steps on how to screenshot on an Asus Zenbook. I’ve provided different methods in a very simple way. And I hope now you’ve no doubts regarding taking screenshots on your Asus laptop. Please let me know if you’re still confused, and I would be happy to help you.

![How To Fix A CPU Cooler Not Lighting Up? [New Guide 2023]](https://www.drtechreviews.com/wp-content/uploads/2022/07/How-To-Fix-A-CPU-Cooler-Not-Lighting-Up-450x210.jpg)

![Why Is My CPU Cooler So Loud? [Facts 2023]](https://www.drtechreviews.com/wp-content/uploads/2022/07/Why-Is-My-CPU-Cooler-So-Loud-450x210.jpg)
![Fix Dual Monitor Lag In Windows [Explanation For Beginners]](https://www.drtechreviews.com/wp-content/uploads/2022/07/Fix-Dual-Monitor-Lag-In-Windows-450x210.jpg)
![Fix A Monitor Randomly Loses Signal [Problems & Solutions 2023]](https://www.drtechreviews.com/wp-content/uploads/2022/07/Fix-A-Monitor-Randomly-Loses-Signal-450x210.jpg)